Luna Yoga and Surf Retreat in Nicaragua

Comment

Luna Yoga and Surf Retreat in Nicaragua

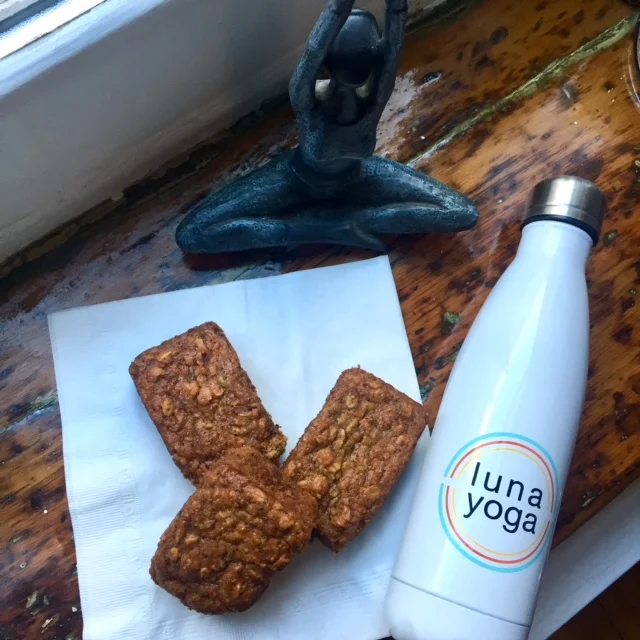
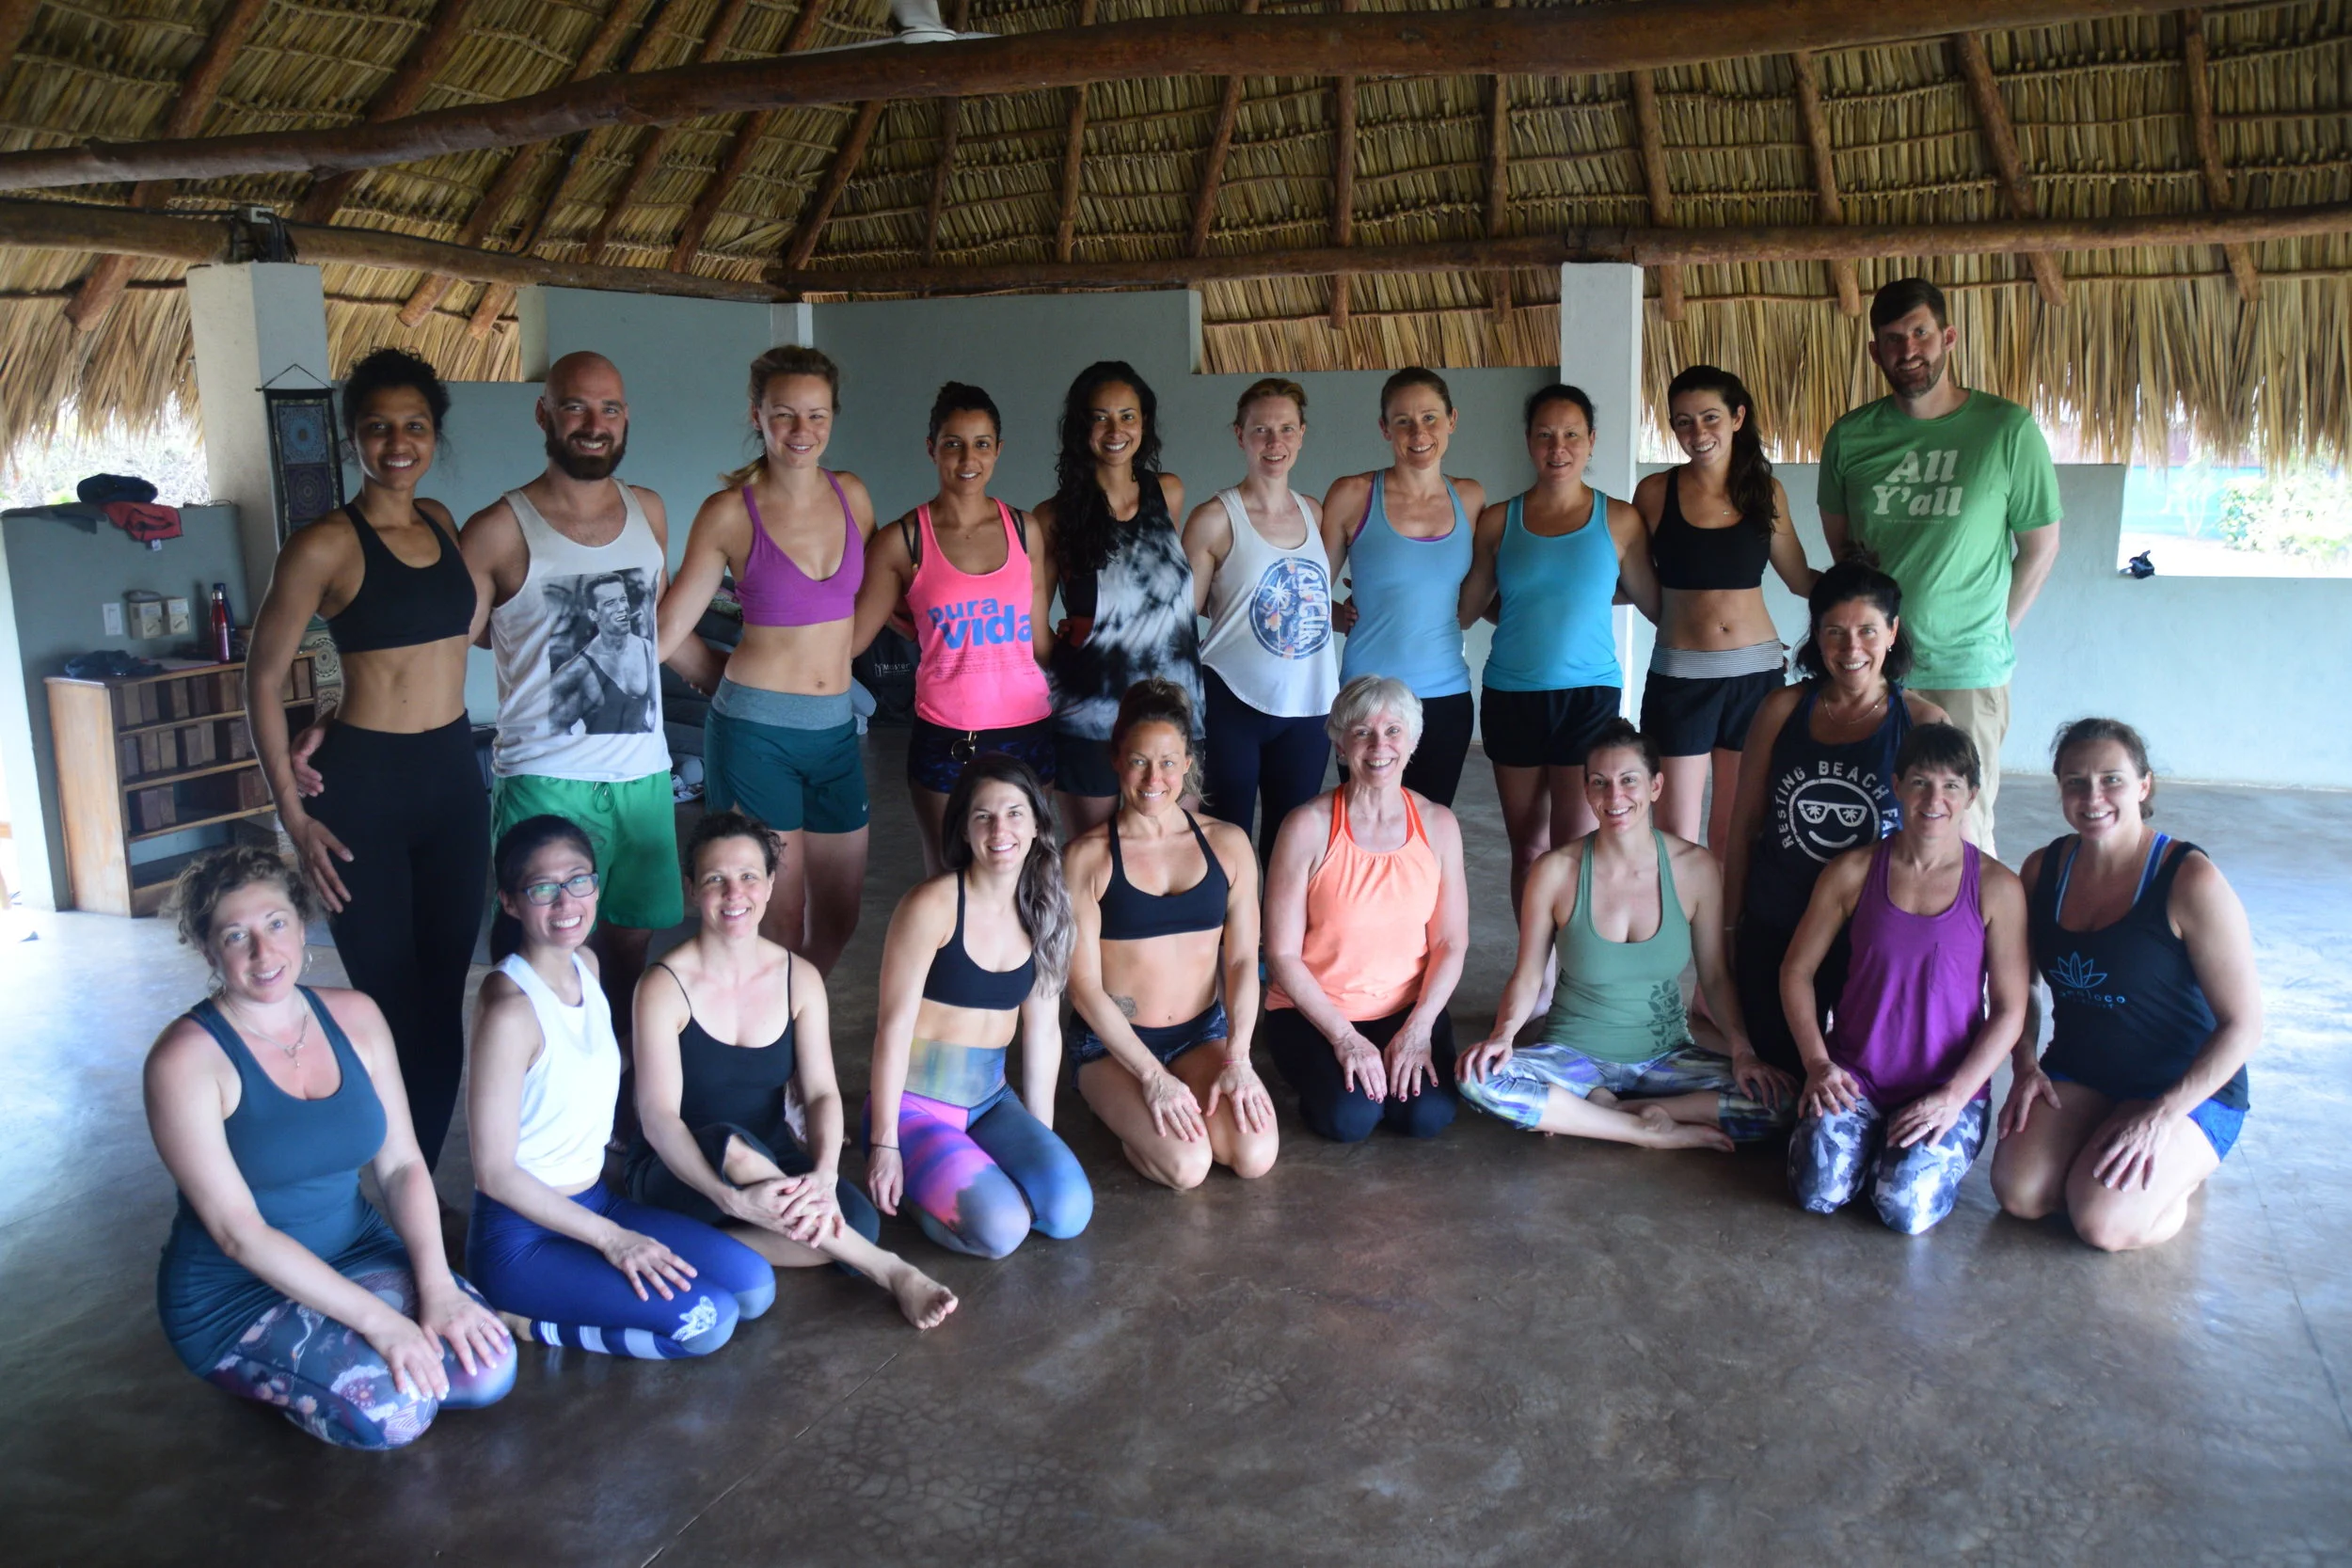
LUNA YOGA AND SURF RETREAT WITH FRANCES & FRANCESCA IN NICARAGUA

Heart open Frances and Francesca
Francesca and Frances Surfboards

We really couldn't have asked for any better for our first yoga retreat together... From the beauty of the location, to the easy-going yet efficient running of the Coco Loco Eco-Resort, to the wonderful group of yogis who joined us on this adventure... Francesca and I kept grabbing each other, looking into each others' eyes and saying, "I can't believe this is really happening!"

Class
Francesca and Annie surf


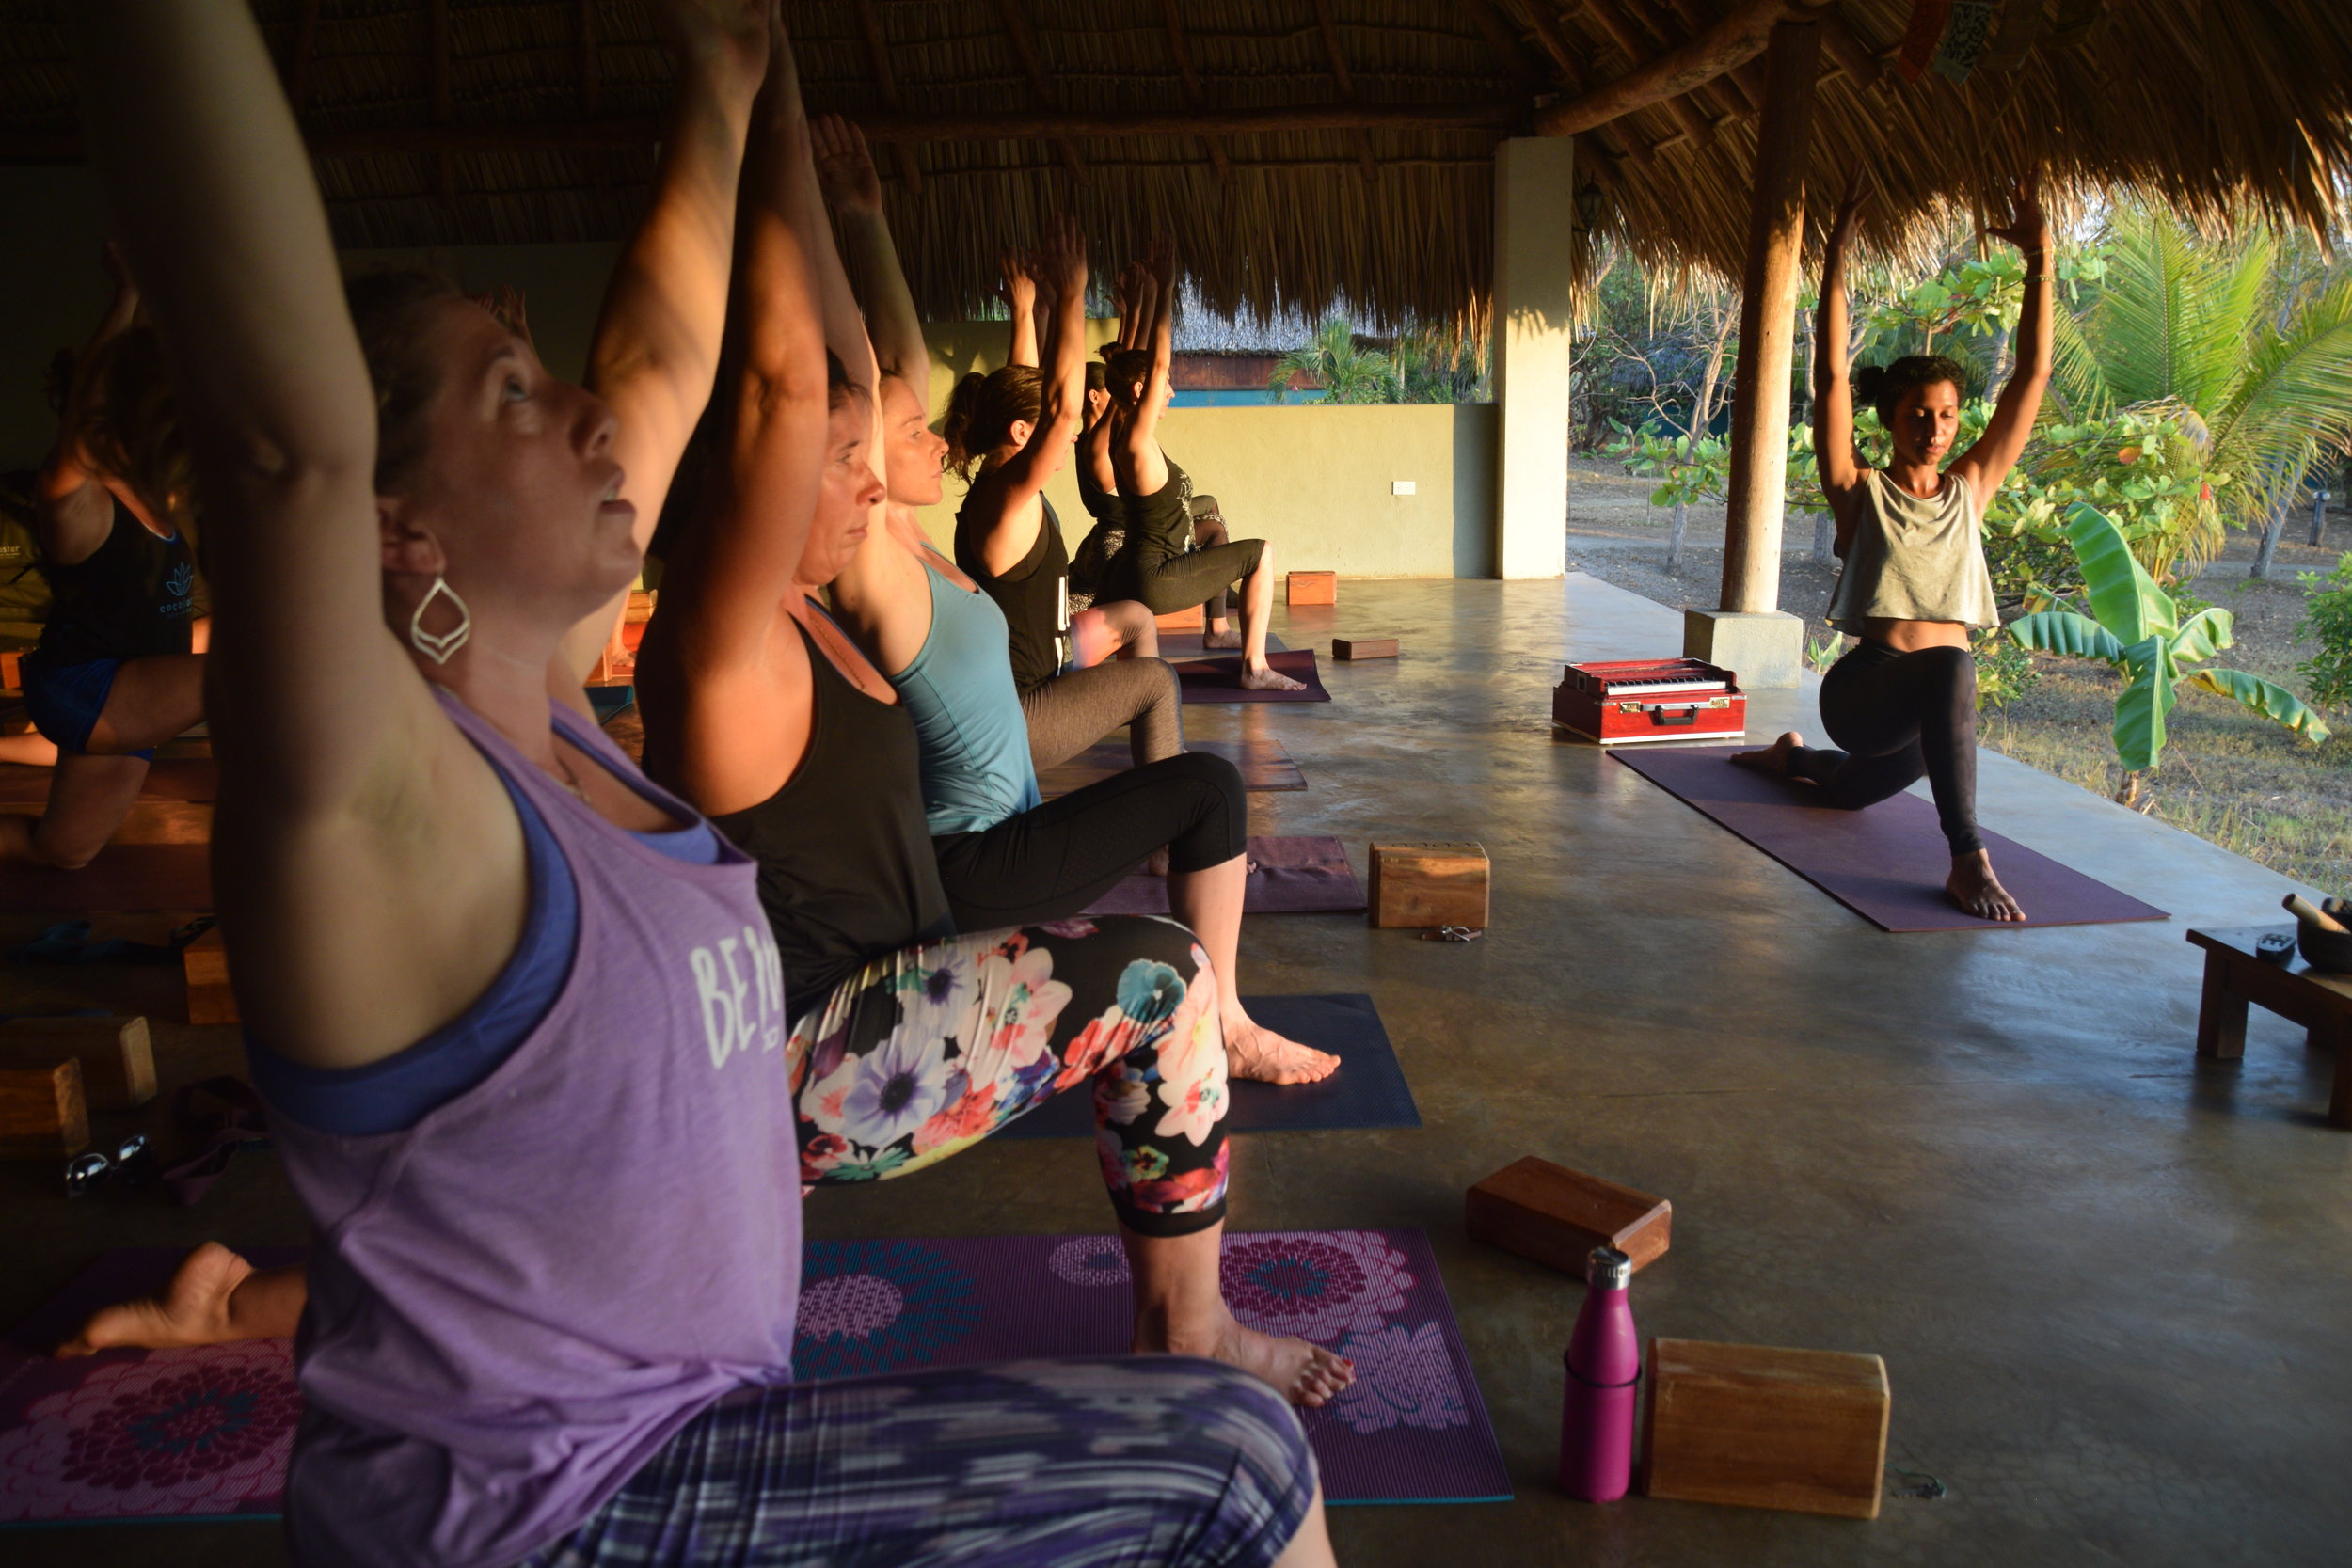
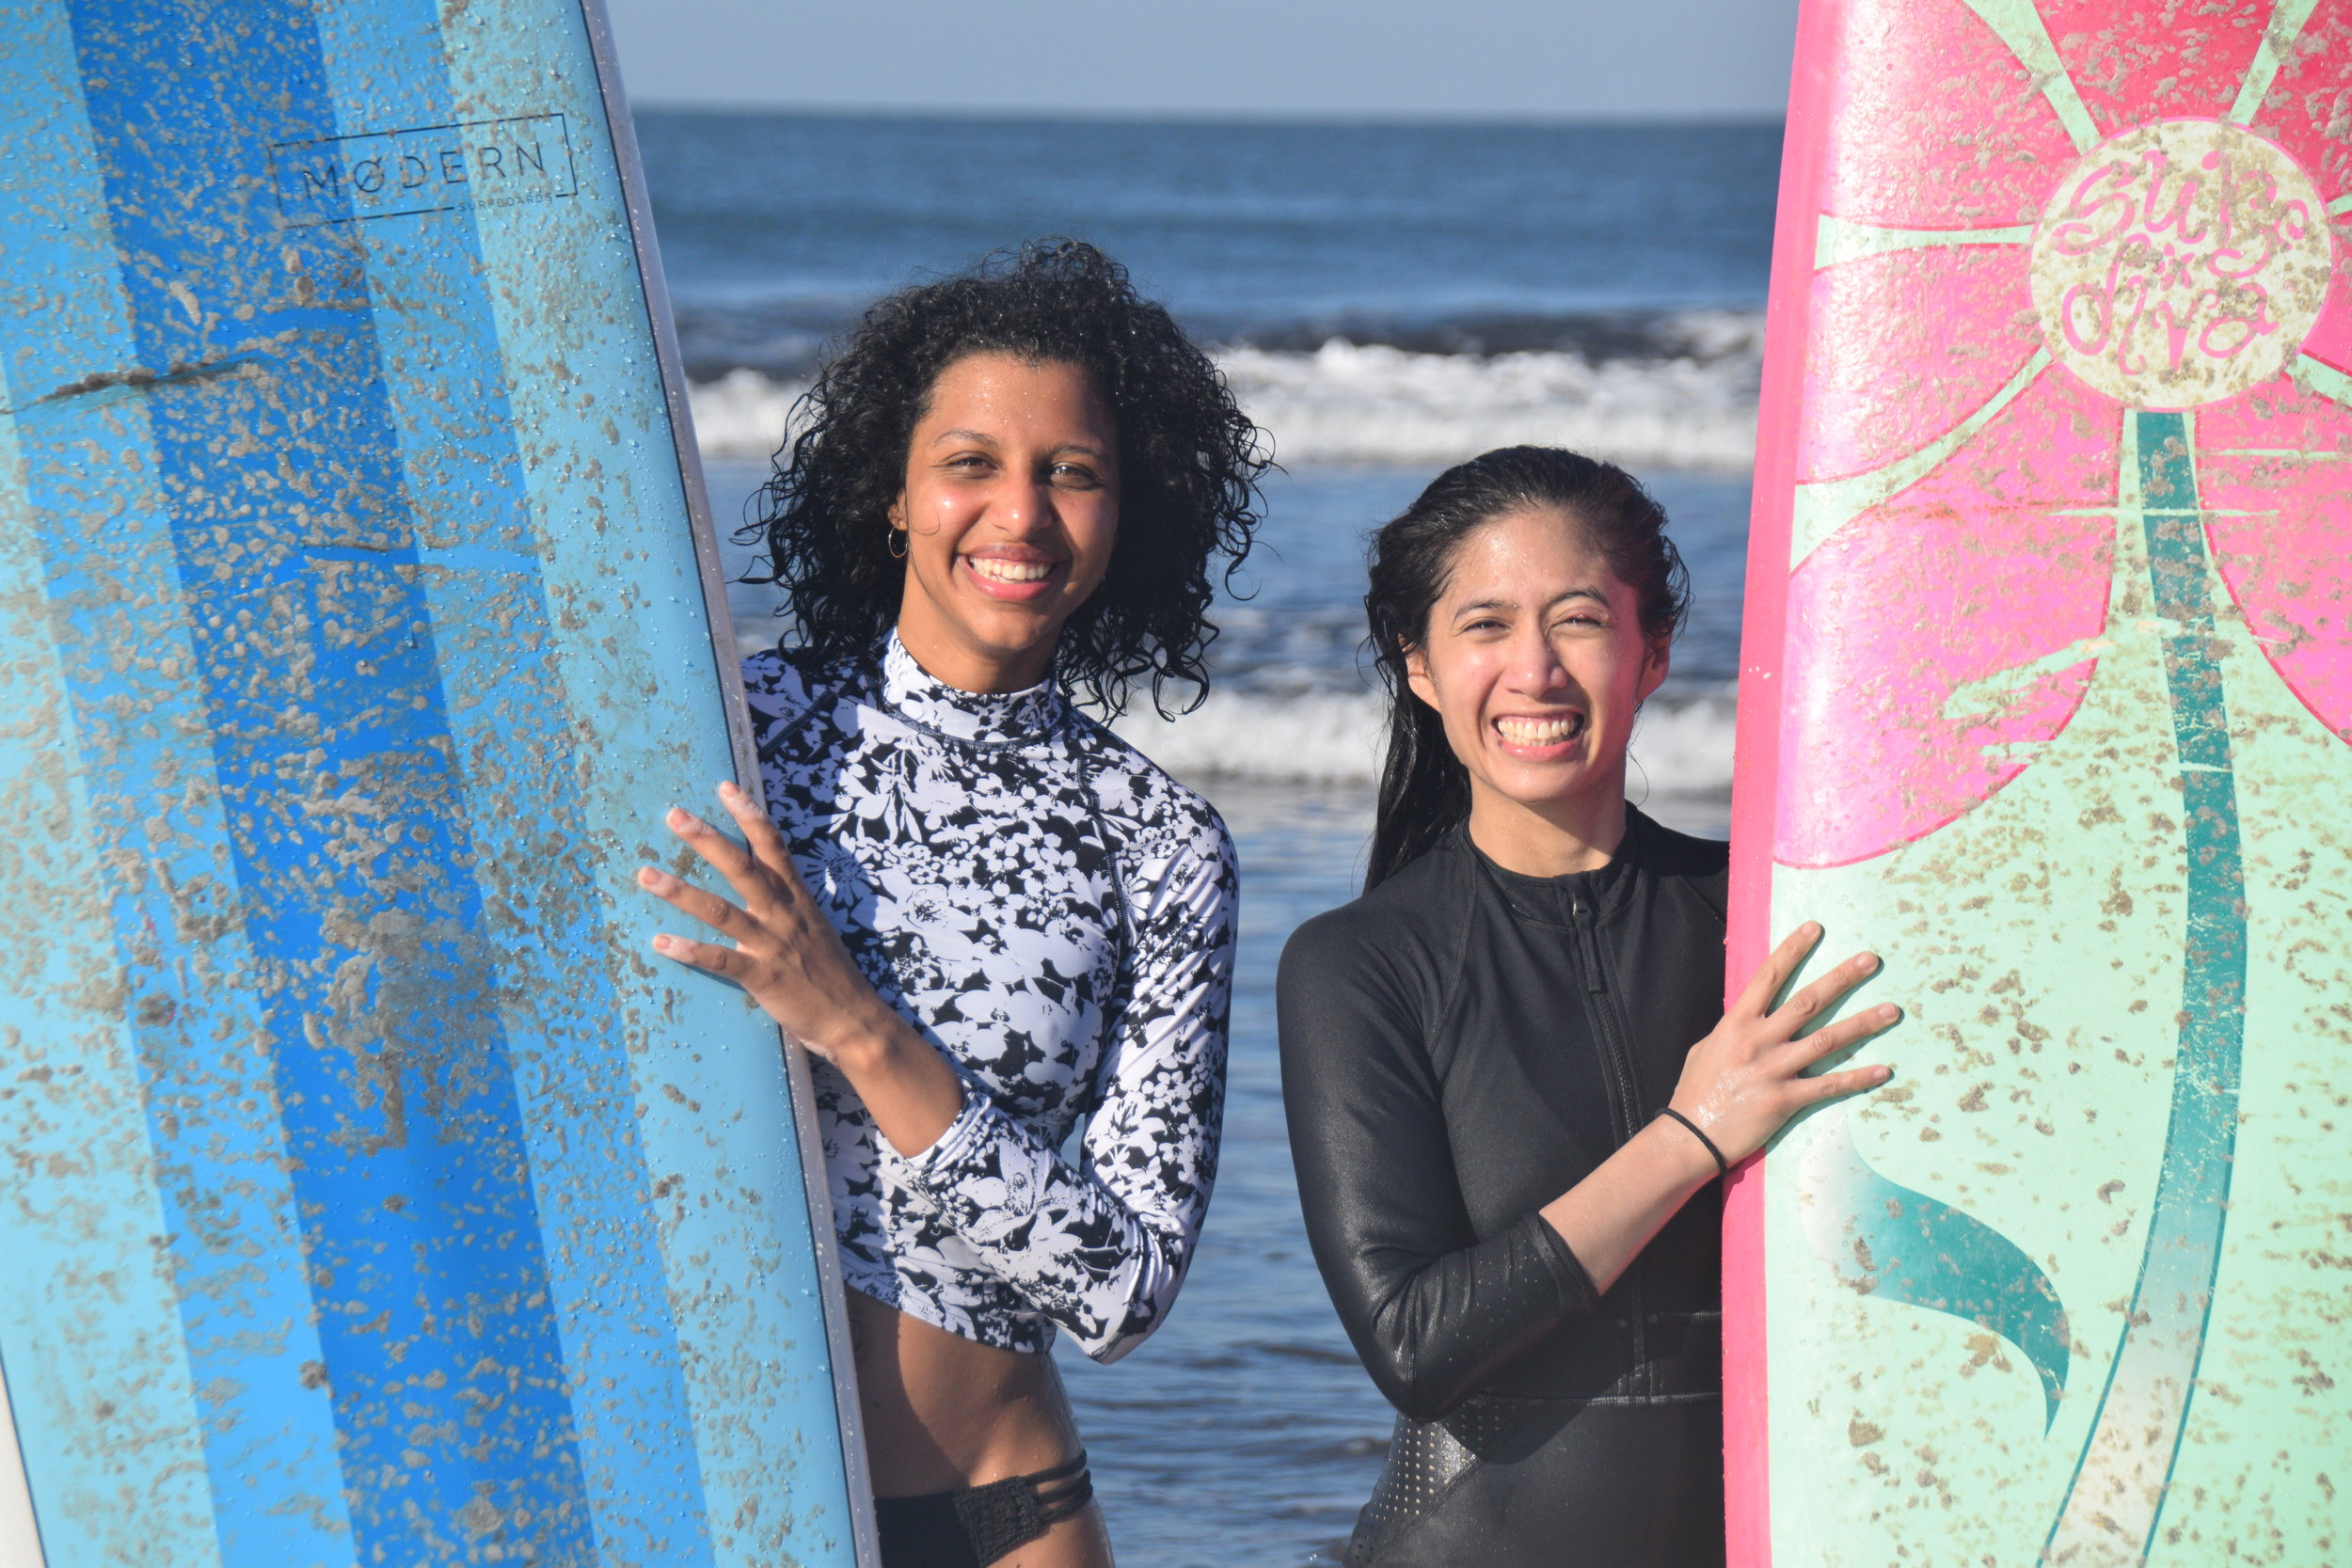
The yoga studio space had a beautiful view of the trees and we could hear the birds and the waves of the ocean in the distance as we practiced.  Every morning they laid out a spread of fresh fruits and granola for a light early breakfast as of 5 a.m.; we had the option of catching some waves with the instructors as of 6:30 a.m.; we had morning practice from 8-9 a.m. and then a more substantial (and very delicious) breakfast after class. We had various activity options for the rest of the day throughout the week: Stand Up Paddle boarding, kayaking, chocolate-making, salsa dancing... We also had the option of getting pampered with a good, strong massage after all the yoga, surfing and all-around adventuring!
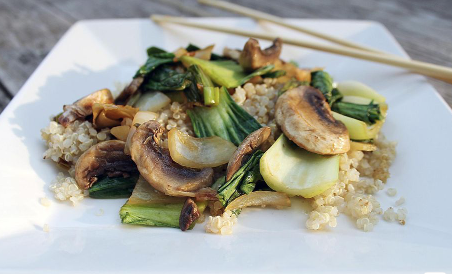
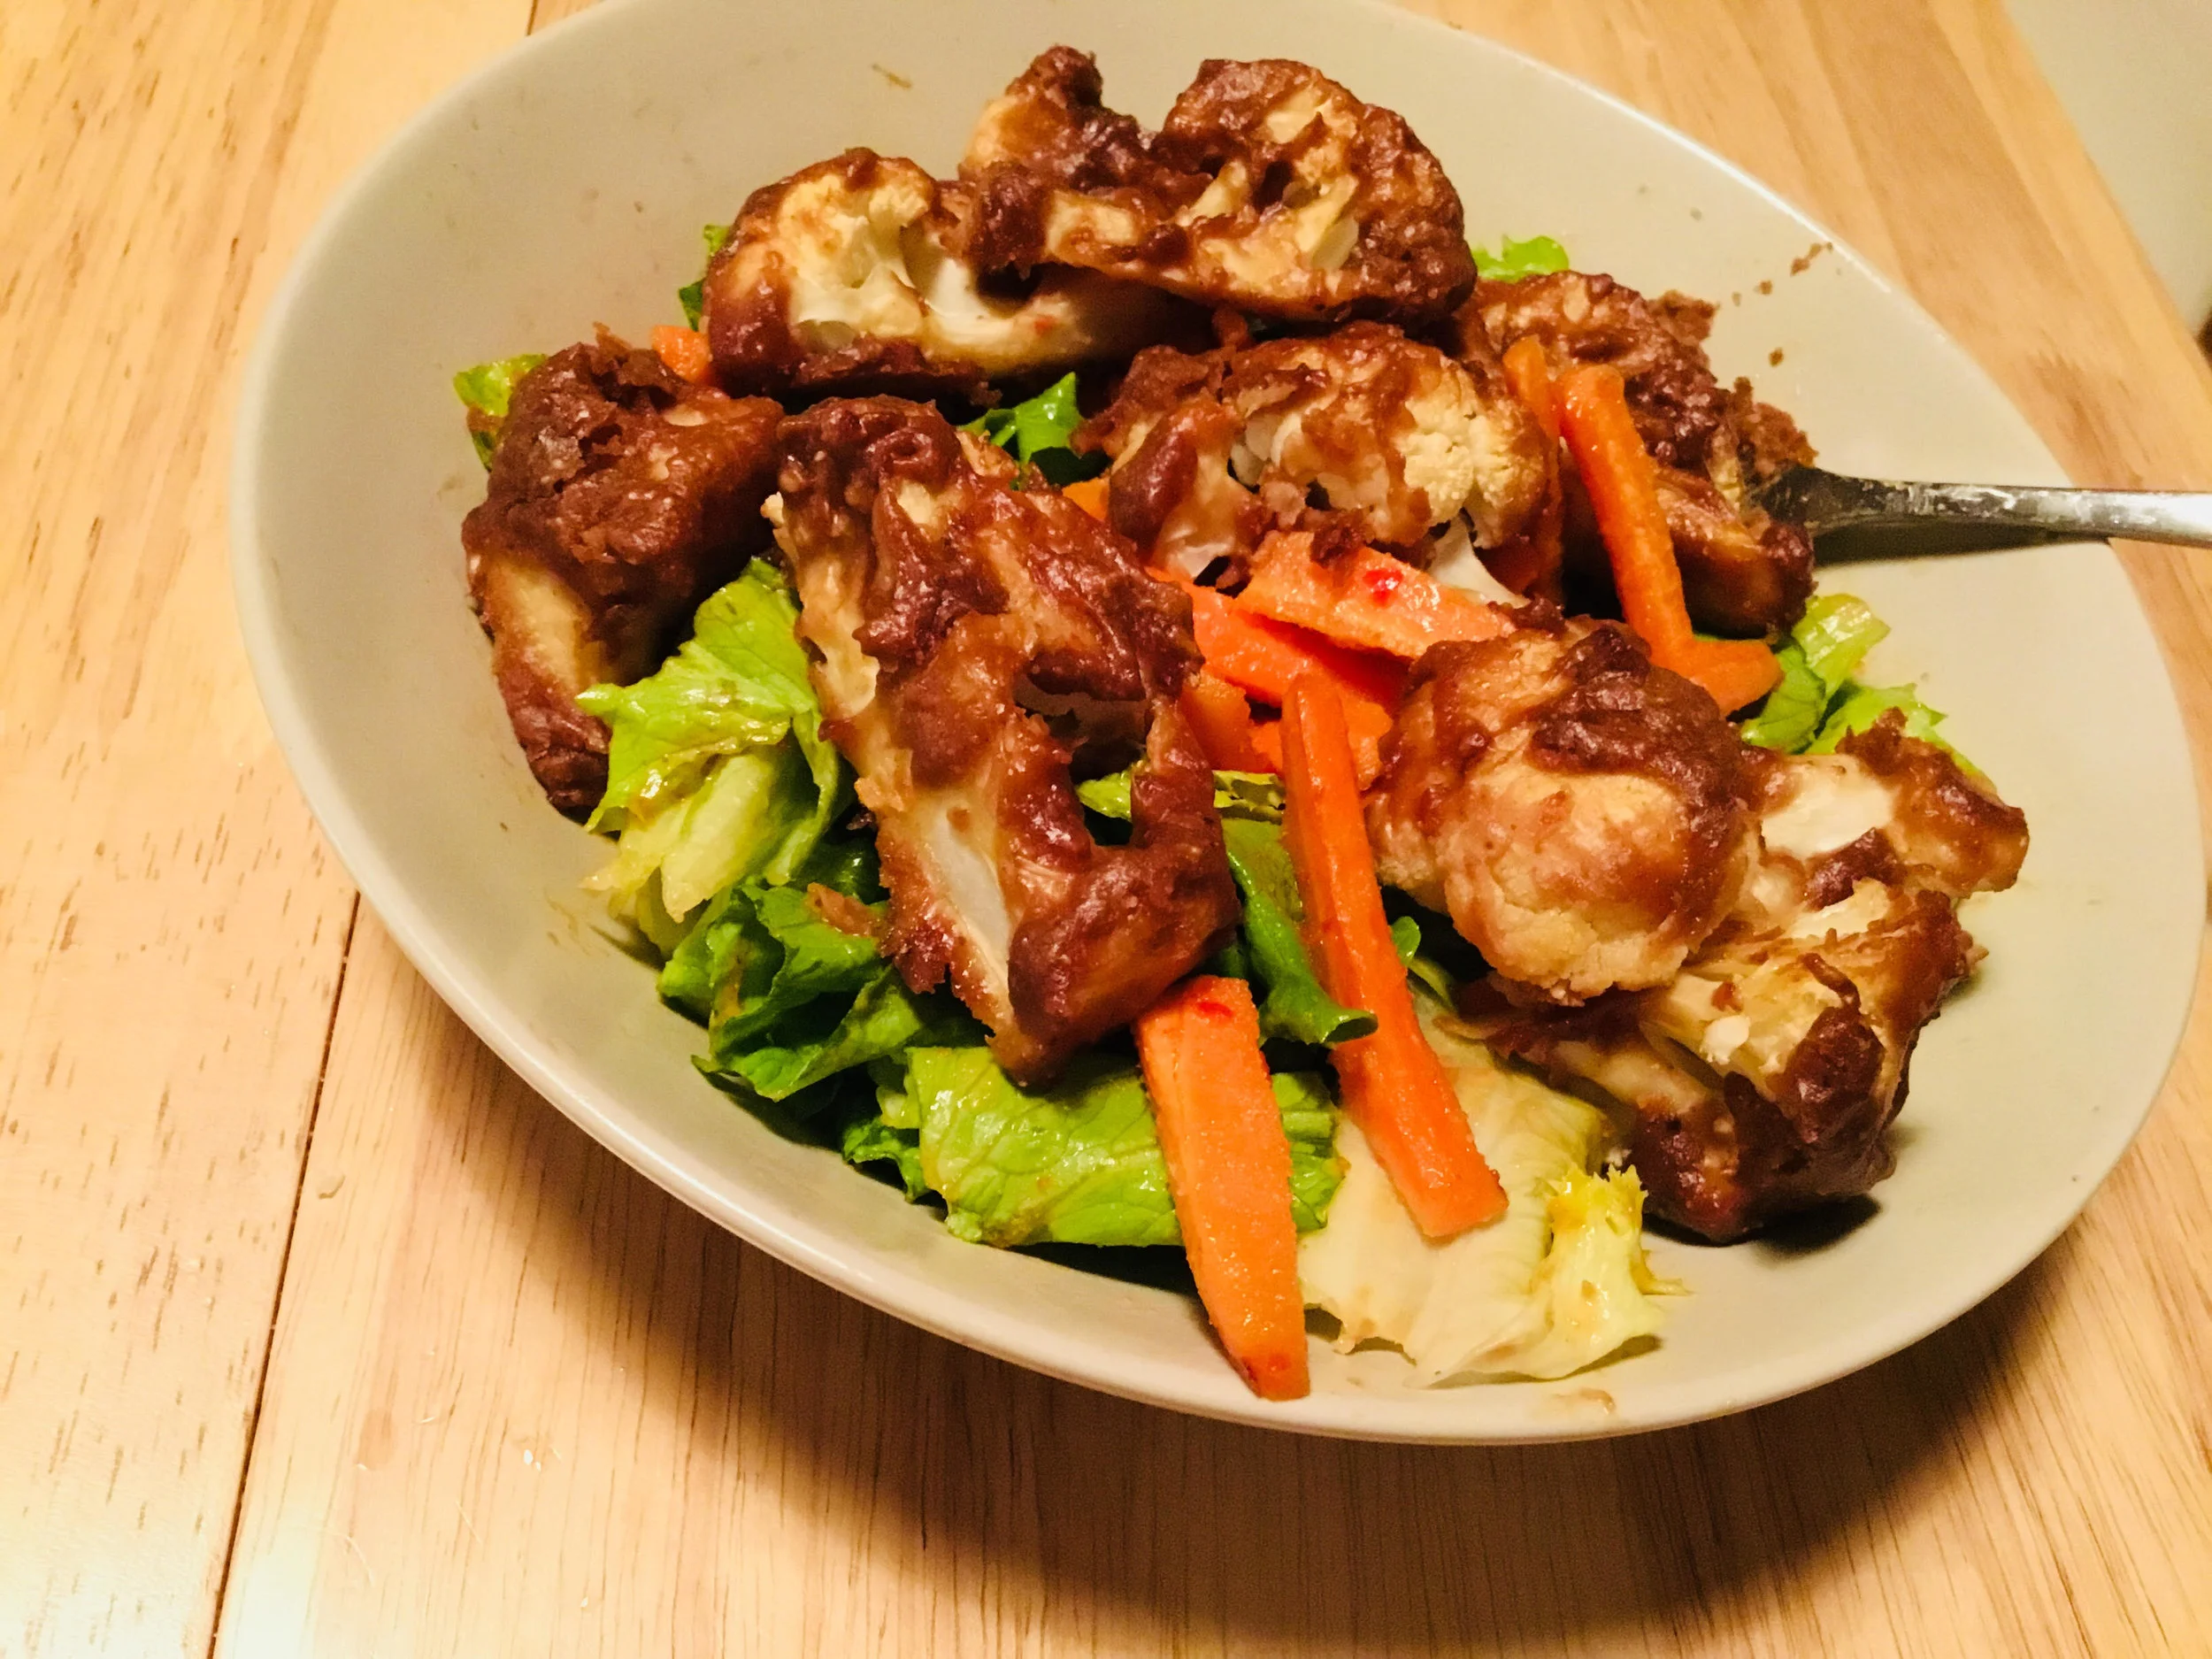
Lunch was at 2 p.m. most days, evening practice around 5:30 p.m., just as the sun was setting, and a delectable dinner was served right afterwards which always included a sweet, refreshing treat for dessert!

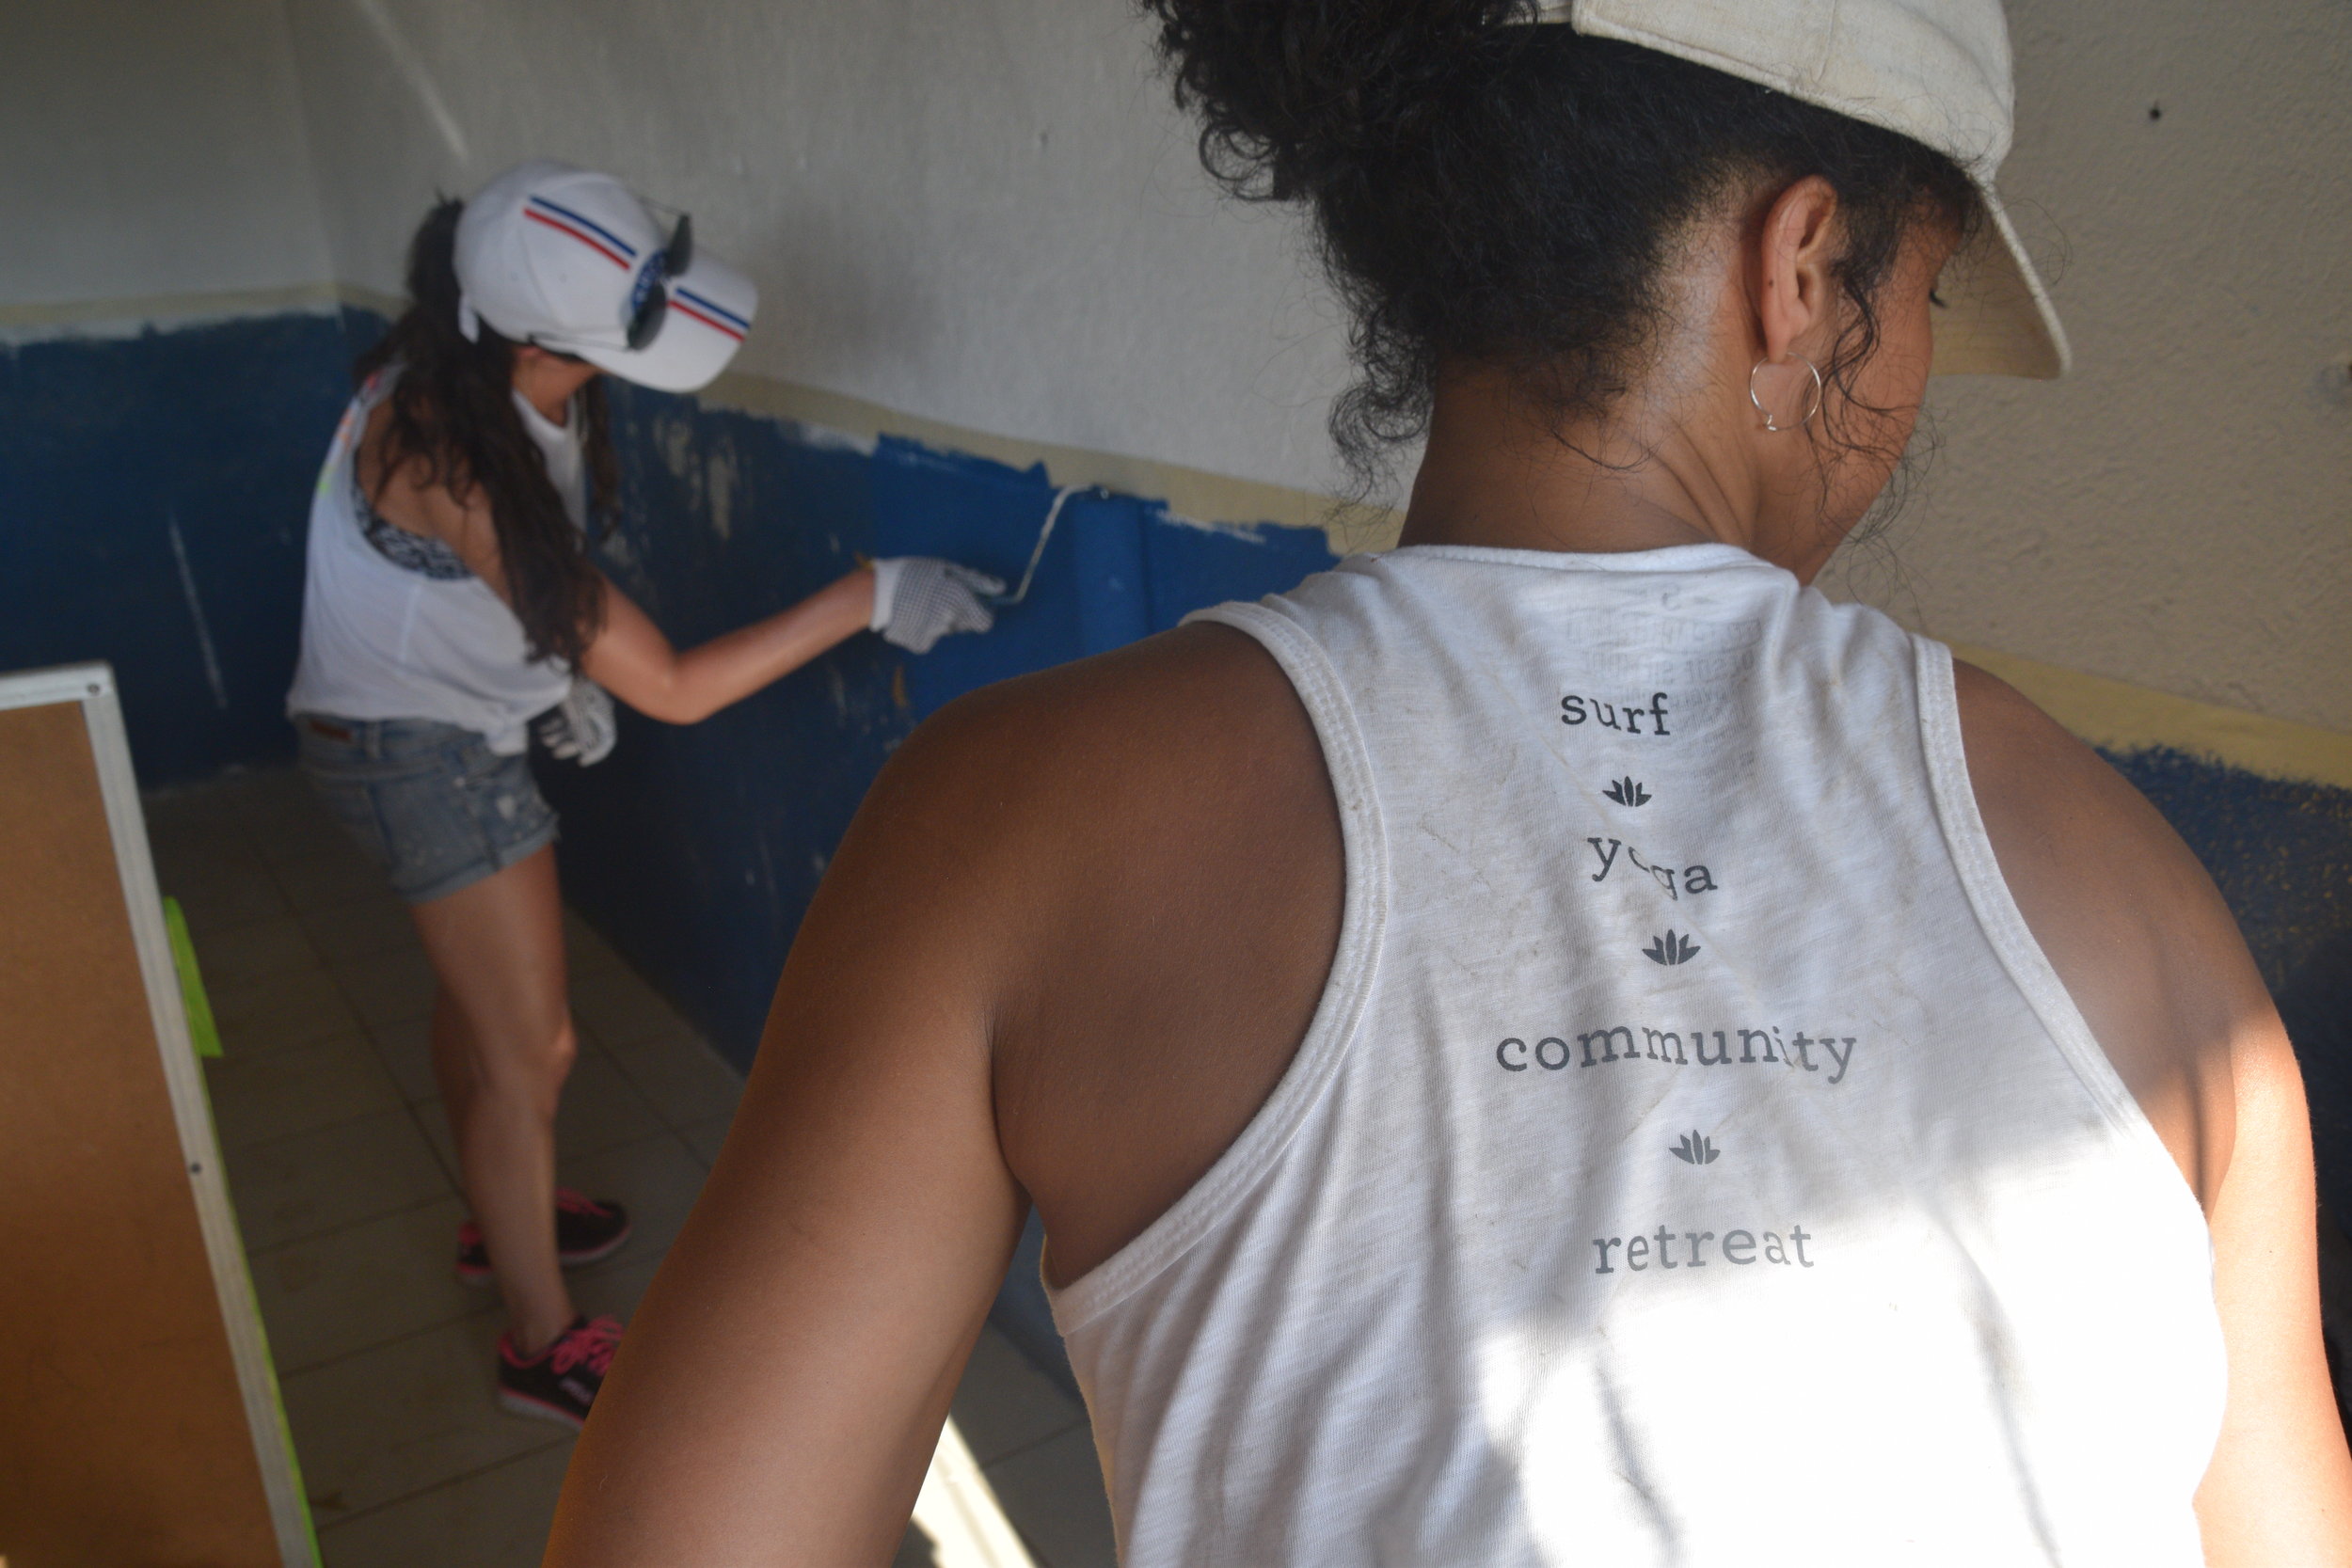
We dedicated one afternoon mid-week to volunteer for Waves of Hope, a charitable organization that the owners of Coco Loco (Earl and Jamie) created to get involved in and to support the surrounding community. It was such a heartwarming and humbling experience to be able to spend an afternoon re-painting an elementary school classroom and making cement to apply to the back of the schoolhouse.
 

Taping Caro and Frances
Painting Charlie and Frankie
Cement Gen and Michelle

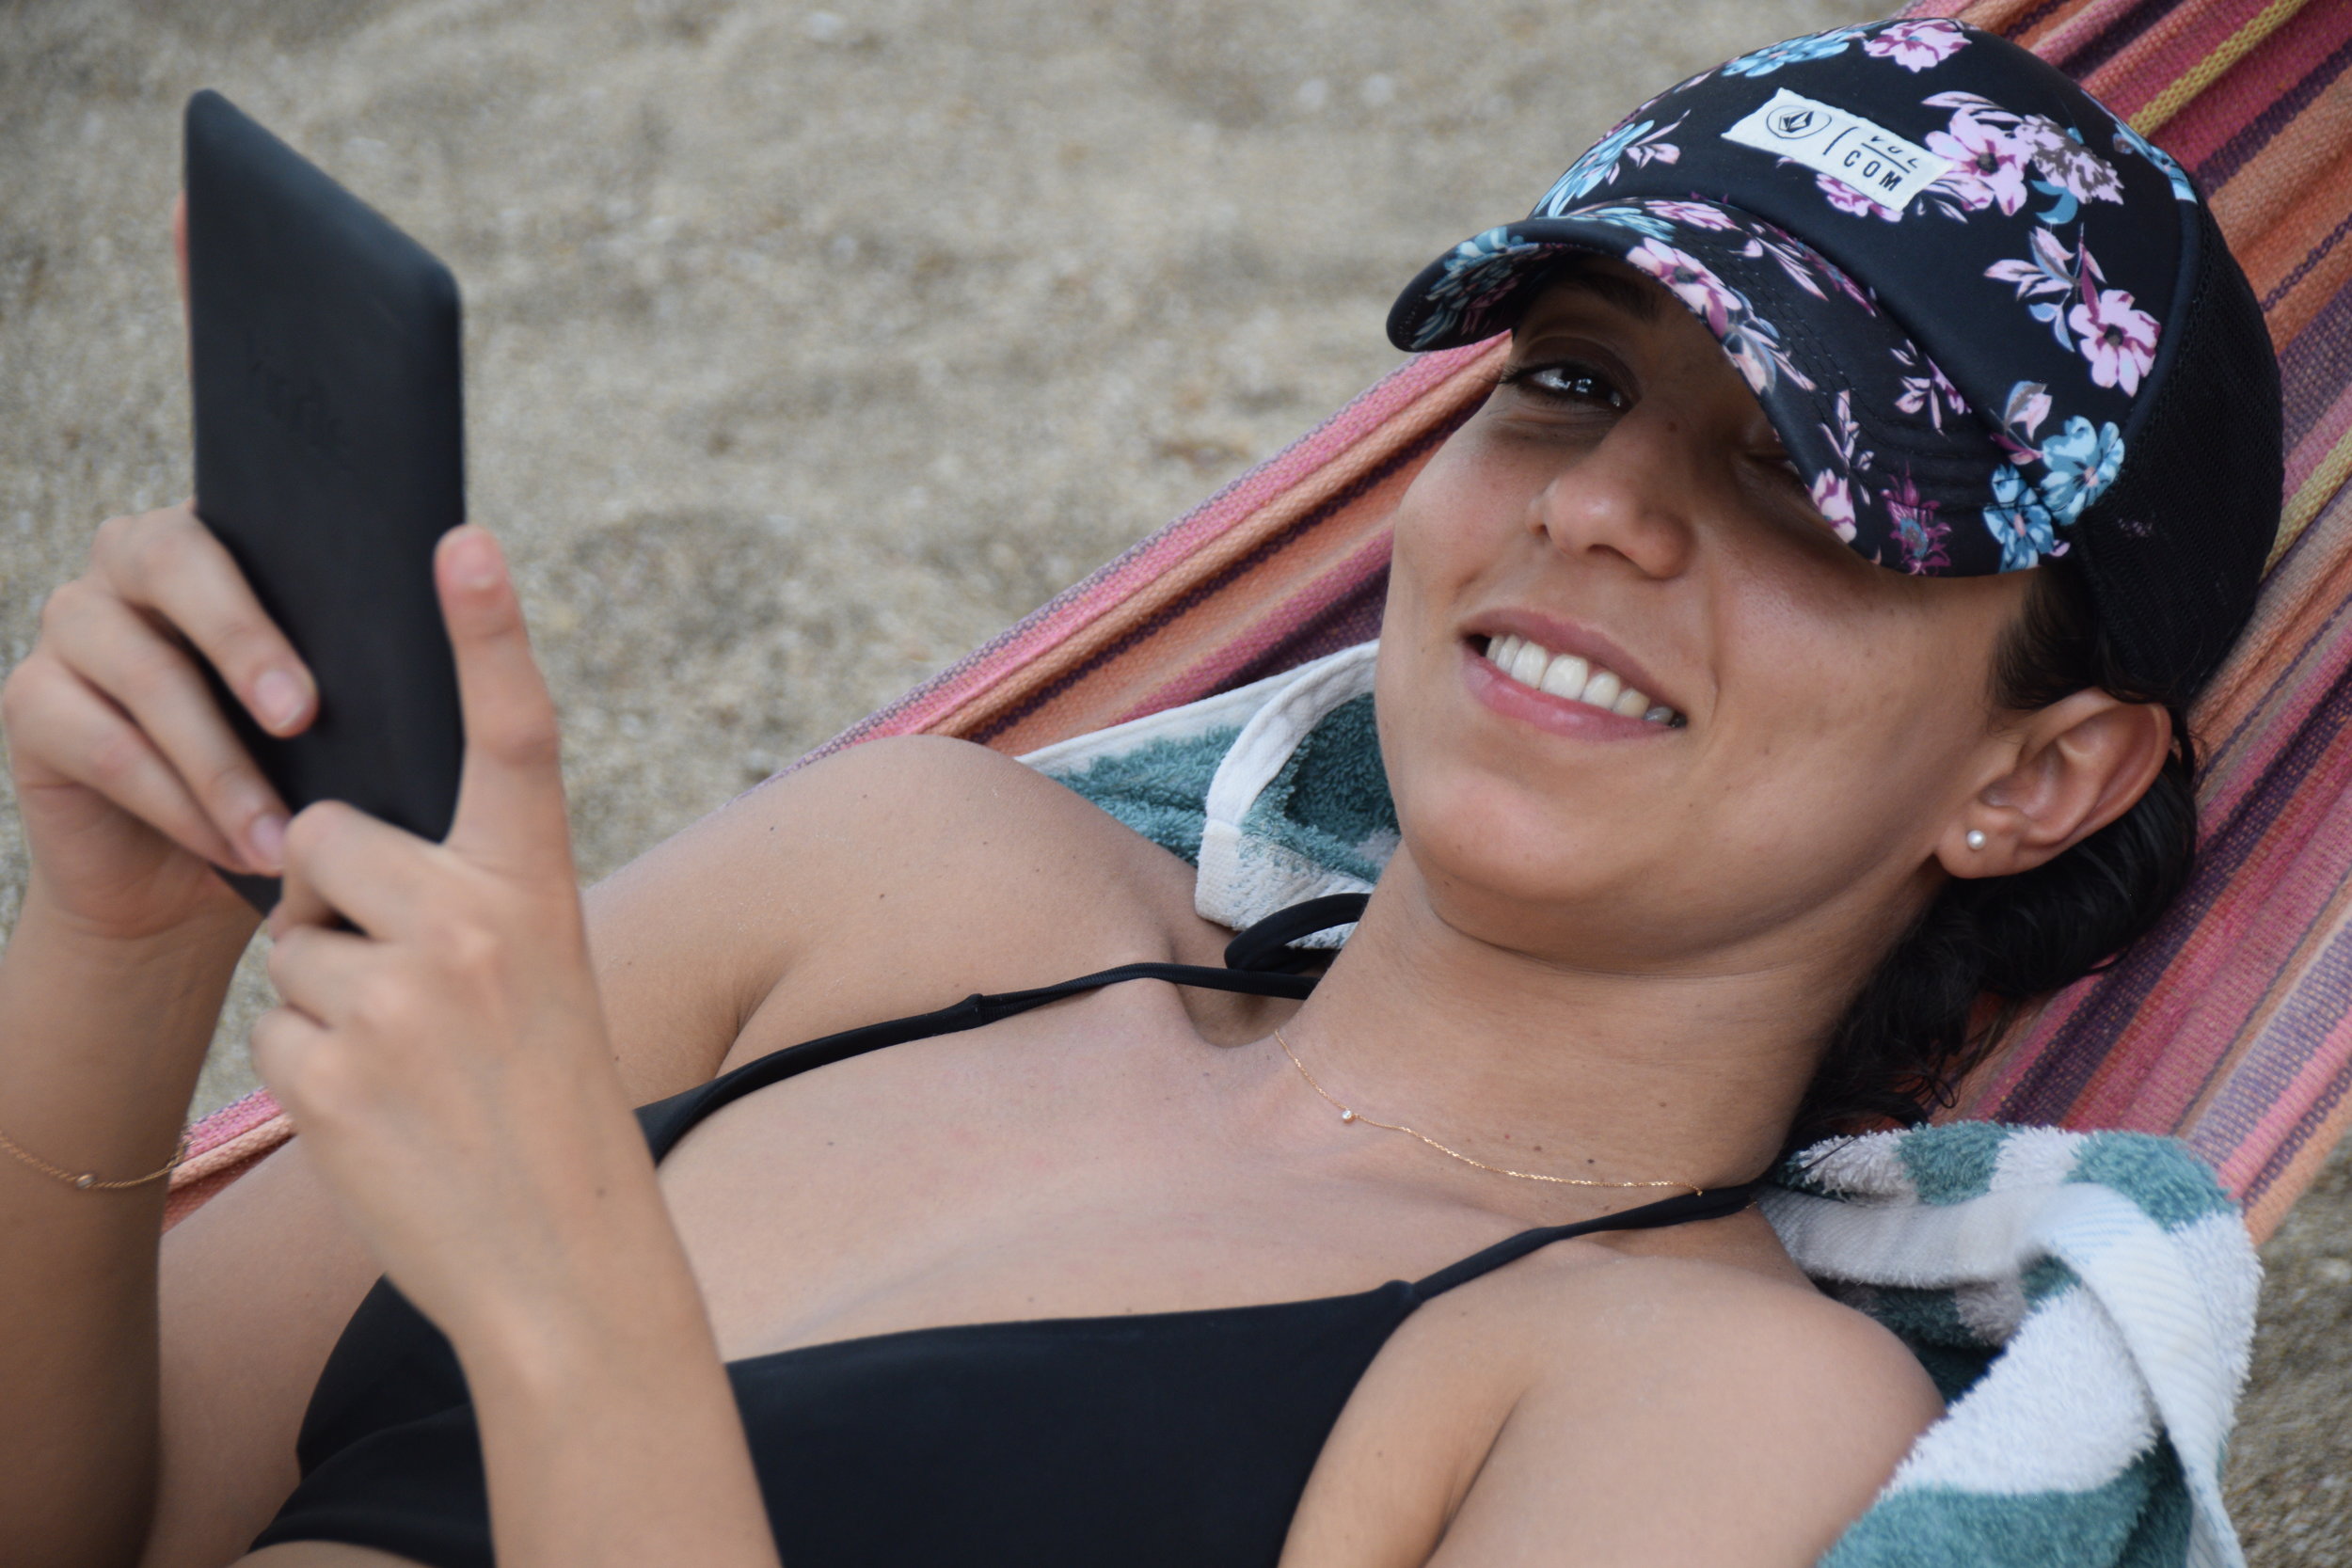
The location of Coco Loco itself was of picturesque perfection! There were plenty of hammocks all along the grounds for us to relax and read a book, or sip on a margarita; there were lounge chairs by the beach for us to enjoy the sound of the waves while catching some sun rays; there was a lovely pool space area to cool off with a nice dip in the water; and there was a welcoming dining hall/lounging space where we could sit with a cool drink and grab a light snack while journalling or sending a quick message home. 

Reading on the beach
Hammock Meriem
Dining hall

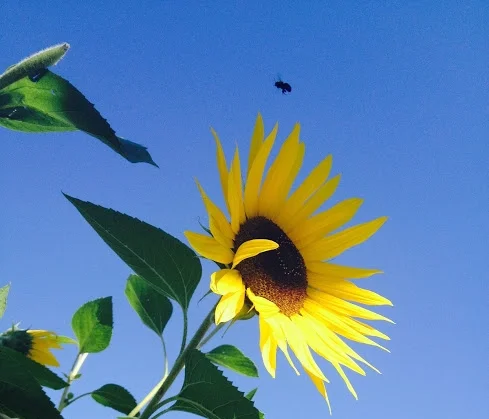
And the beautiful sunset... We began the week by congregating on the beach the first night after dinner to watch the sunset and we ended the week with a walking meditation on the beach to watch the sun go down before our evening class.

First night sunset
Mid-week sunset
Walking meditation

Francesca and I would like to thank all the yogis who shared this wonderful experience with us and the entire Luna Yoga family for their support. We extend our sincerest gratitude especially to Jenn, for creating Luna Yoga to begin with, and for giving us the opportunity to host the most magical retreat for our community.

See you there next year? ;-) (Luna Yoga & Surf Retreat 2019 is tentatively set for March 16-23. Stay tuned!)

- Frances Vicente

Comment

Earth Day

Comment

Earth Day

Thinking of what to do this Earth Day? Make this Sunday earth-friendly with these great activities to celebrate our beautiful planet.


  • Prepping for the work week ahead? Check out Lunch-a-Porter for great reusable lunch packaging ideas and options.
  • Going shopping? Buy local, Eco-friendly products. Luna’s Boutique is filled with Canadian-made, organic and Eco-friendly products.
  • Support our local farms. Lufa Farms will be celebrating Earth Day with an Open House Event.
  • Try one of Montreal’s amazing Eco-friendly restaurants that support healthy lifestyles, sustainable farming culture and local seasonal produce like  Lov, Robin Des Bois, Aux Vivres, and La Recolte
  • Going for a walk? Pick up and recycle any debris you find along the way. 
  • In the mood for a Netflix night? Check out An Inconvenient Sequel,  Planet Earth, Chasing Coral, A Plastic Ocean, as well as the long list of great documentaries on the food industry like Food Inc,  Sustainable, Food Choices, 

“Never doubt that a small group of thoughtful, committed citizens can change the world; indeed, it is the only thing that ever has.”
—Margaret Mead

Comment

Bok Choy and Shiitake Mushroom Stir Fry

Comment

Bok Choy and Shiitake Mushroom Stir Fry

From The Spruce Eats
Submitted by Bram Levinson

Here’s one of my favourite recipes that is clean and healthy, and is even better when the water the rice is boiled in is replaced by coconut milk or even coconut water!

What You'll Need 

  • 3-4 cloves minced garlic
  • 1 cup shiitake mushrooms, sliced OR 1/2 cup sliced shiitake mushrooms and 1/2 cup sliced button mushrooms
  • 2 tsp canola oil or other high-heat oil
  • 1 tbsp soy sauce (or, use tamari or
  • Nama Shoyu or another substitute to keep it gluten-free)
  • 1 bok choy, chopped (or 2-3 baby bok choy if you prefer)
  • 5-6 scallions (green onions), sliced
  • 1/4 cup vegetable broth
  • 2 tsp fresh ginger, minced or grated
  • 2 tsp sesame oil
  • 2 tbsp sesame seeds (optional)

How to Make It 

Sautee the garlic and mushooms in oil for 3 to 5 minutes then add in the soy sauce, the bok choy and scallions, and cook for a few more minutes.

Reduce heat to medium low and add vegetable broth and ginger. Simmer for another 3 to 5 minutes.

Finally, stir in the sesame oil and the optional sesame seeds and remove from heat.

Serve your bok choy and mushroom stir-fry hot over rice, quinoa, noodles (there should be a little bit of sauce) or just enjoy it as is as a simple vegetable side dish.

Or, add in some fried or baked tofu to add protein and make it a main dish.

Nutritional Guidelines (per serving)
Calories105
Total Fat7 g
Saturated Fat1 g
Unsaturated Fat3 g
Cholesterol0 mg
Sodium365 mg
Carbohydrates9 g
Dietary Fiber3 g
Protein4 g 

(The nutrition information on our recipes is calculated using an ingredient database and should be considered an estimate. Individual results may vary.)

https://www.thespruceeats.com/bok-choy-shiitake-mushroom-stir-fry-3378425

Comment

Vegan Upcycle Muffins

Comment

Vegan Upcycle Muffins

VEGAN UPCYCLE MUFFINS

Upcycle: to recycle (something) in such a way that the resulting product is of a higher value than the original item

Is there anything better than warm muffins on a cold day? Yes, warm VEGAN muffins! 

I, like many others, have little time to bake so I often look for the most simple recipes I can find. I also hate waste, and have a few recipes that can use up and upcycle your pantry items!

This recipe will do away with at least 4 rotting bananas that are sitting on your counter, waiting to be made into something delicious. 

Better than Basic Banana Muffins

These are moist, one-bowl muffins that you can make in a total of 30 minutes. I have timed it, and you can throw everything together in 10, throw them in the oven, run and take a shower, get dressed and be back before you have to take them out of the oven!

  • 2 flax eggs (each flax eggs =1 Tbs + 2.5 Tbs water)
  • 4 ripe bananas
  • 1/2 cup brown sugar
  • 1/4 cup coconut oil, melted
  • 1 tsp vanilla extract
  • 2 tsp baking soda
  • 1/2 tsp sea salt
  • 1.5 cups whole-wheat flour 
  • 1/2 cup rolled oats
  • optional: 1/4 cup nuts, cocoa chips, etc

Instructions

  1. Preheat oven to 375 degrees F (190 C) and lightly grease muffin tins with coconut oil or oil of choice.
  2. Prep flax egg in a large mixing bowl. Let set for 5 minutes.
  3. Add banana and mash, leaving just a bit of texture.
  4. Add brown sugar, baking soda, salt and whisk.
  5. Stir in vanilla, melted coconut oil and mix.
  6. Add flour, oats and stir until combined. Lastly, fold in optional ingredients.
  7. Divide batter evenly among muffin tins, filling a generous 3/4 full
  8. Bake for 17-22 minutes or until toothpick or knife comes out clean. Let cool for a few minutes, remove from muffin tin. Once completely cooled, store in a covered container in the fridge. Can be frozen.

Squash Muffins

Have you ever made a big meal and have leftover sweet potato, butternut squash or maybe leftover pumpkin from making a pie? This recipe is crazy-versatile in that you can use any up any of the root veggies if you’re sick of turning them into soup!

  • 1 flax egg
  • 1/2 cup squash puree (pumpkin, sweet potato, butternut squash have all worked well)
  • 1 cup non-dairy milk 
  • 1/2 cup brown sugar
  • 2 Tbsp grape seed, canola, or  even coconut oil
  • 1 tsp vanilla extract
  • 1 tsp baking powder
  • 1/2 tsp baking soda
  • 1/4 tsp salt
  • 1 tsp cinnamon
  • 1.5 cup whole wheat flour
  • Optional : 1/3 cup nuts or cocoa chips
  1. Preheat oven to 375 degrees F (190 C) and lightly grease muffin tins with coconut oil or oil of choice.
  2. Prep flax egg in a large mixing bowl. Let set for 5 minutes.
  3. Add pumpkin puree, almond milk, brown sugar, oil, and vanilla extract and stir. Then add salt, baking soda and powder, and cinnamon and whisk.
  4. Add flour and lightly mix so all ingredients are incorporated.
  5. Lastly, fold in optional ingredients.
  6. Divide batter evenly among muffin tins, filling a generous 3/4 full
  7. Bake for 20-22 minutes or until toothpick or knife comes out clean. Let cool for a few minutes, remove from muffin tin. Once completely cooled, store in a covered container in the fridge. Can be frozen.

- Shannon Cleary

Comment

Peanut Butter Cauliflower Bowl with Roasted Carrots

Comment

Peanut Butter Cauliflower Bowl with Roasted Carrots

Prep Time 10 mins ~ Cook Time 30 mins ~ Total Time 40 mins

unnamed.jpg

Peanut Butter Cauliflower Bowl with Roasted Carrots. Cauliflower tossed in peanut butter sauce and roasted, carrots tossed in hot sauce and roasted. Vegan Recipe, Gluten-free option.  

Course: Main Course   Cuisine: Gluten-free, Vegan   Servings: 4   Calories: 306 kcal Ingredients       

For the Peanut Sauce:

  • 1/2 cup peanut butter , use sunbutter to make it nutfree
  • 1.5 tbsp lime juice
  • 1.5 tbsp soy sauce , use tamari to make gluten-free
  • 2 tbsp maple or sugar
  • 1 tsp vinegar
  • 2 tsp  hot sauce or sriracha or sambal oelek , to taste
  • 1 inch ginger
  • 1 clove of garlic
  • 1/4 cup water
  • 1 tsp sesame oil
  • generous pinches of salt and black pepper , and 1/4 tsp pepper flakes (optional)
  • 1 to 3 tbsp flour , use rice flour for gluten-free
  • 1 small or half a head medium cauliflower chopped into small florets

For the Carrots:

  • 2 tsp sesame oil
  • 1 tsp hot sauce or sriracha
  • 1/2 tsp garlic powder
  • a pinch of salt
  • 4 or 5 carrots sliced

Bowl:

  • Greens, lettuce, or kale
  • crunchy veggies like peppers, cabbage 

Instructions

  1. Preheat oven to 425 degrees F. Line a large baking sheet with parchment.

  2. Blend everything under peanut sauce. Taste and adjust flavor. Keep a quarter of the sauce for drizzling, transfer the rest to a large bowl. Add flour to the bowl to thicken the sauce so that it sticks to the veggies during baking.

  3. Take cauliflower florets one at a time, dip in peanut sauce and place floret on the lined baking sheet. Tap to remove excess sauce before placing. Some sauce might be left in the bowl, use as dressing later.

  4. Toss carrots with the ingredients under carrots and mix in. Spread on the sheet.

  5. Bake for 15 minutes, then reduce temperature to 400 degrees F and bake for another 10 to 15 minutes or until cauliflower is tender

  6. Prepare the bowls with lettuce or greens of choice. Add some bell pepper and apple or pear. Add the cauliflower and carrots, dress generously with the peanut butter sauce, some pepper flakes and scallions or basil. Serve with cooked grains like quinoa/rice, or spiced chickpeas for a hearty meal. 

Recipe Notes

Variations: Add some pressed tofu, broccoli or tempeh to the sauce and bake with the cauliflower

Comment

High Protein Vegan Breakfast Burrito

Comment

High Protein Vegan Breakfast Burrito

vegn burritos.jpg

I wanted to try this amazing recipe from Oh She Glows, mainly because I wanted to see if pressing tofu really made a difference. I think it did, and it wasn't that hard. I simply wrapped the tofu in a clean tea towel, pressed it down with a large can of chickpeas and let the water evaporate for 20min to an hour.

Yield Four 3/4 cup servings     
Prep time 20 Minutes
Cook time 20 Minutes

Ingredients:

  • 1 package extra-firm tofu, rinsed and pressed
  • 1 tsp extra virgin olive oil
  • 3 garlic cloves
  • 2 cups diced onion (about 1 medium)
  • 1 cup diced potato (~115 grams or half a medium potato)
  • 1.5 cups sliced mushrooms (I used portabello)
  • 1/4 cup nutritional yeast
  • 3-4 tbsp minced basil
  • 2 tbsp minced parsley
  • 1-1.5 tbsp fresh lemon juice
  • 3/4 tsp sea salt  + black pepper
  • For garnish: chopped salsa, avocado (or guacamole) green onion

Directions:

  1. Press tofu: Rinse the tofu with water. Wrap the tofu in tea towel and press a can into the wrapped tofu. Let sit for at least 20 min to 2hrs to soak out the water. 
  2. When you're ready heat a large skillet with 1 tsp oil over medium heat. Sauté garlic, onion and then add diced potato and stir. Finally add mushrooms and sauté for 15 minutes, reducing heat if necessary and stirring frequently so it doesn’t stick to the bottom.
  3. Remove tofu from towel. It becomes quite crumbly, making it the perfect texture and size.
  4. Reduce heat to low and stir in the nutritional yeast, crumbled tofu, fresh herbs, lemon juice, and season with salt and pepper to taste. Continue cooking on low until potato is cooked through.
  5. Serve tofu mix with warmed tortillas with bowls of salsa, guacamole, green onions, and whichever condiments you like. and let everyone make their own customized breakfast burrito!

Comment

Green & Clean: Options to Help You Breathe Easier

Comment

Green & Clean: Options to Help You Breathe Easier

Is winter over yet? Like many Montrealers, I’m ready to breathe again. I packed up my winter clothes and I opened my windows that have been shut for months, closed my eyes and inhaled deeply. I opened my eyes and as my lungs filled with fresh air, I looked around and all I could see was how dirty everything looked. 

Spring brings a need to clean. Every year at this time, we like to start with a clean slate. Detoxes in mind and body are underway and we start thinking about spring cleaning but before you reach for that commercial cleaning product under your sink, lets talk about options.  I’m not a big fan of using things that have labels with skull and cross bones on them.  The amount of toxins in commercial cleaning products is staggering, they’re expensive, and are almost always packaged in plastic.  There has been no better time to go green. 

Being the founder of Audre Leigh Beauty, I obviously believe in the power of plants, so naturally, I clean my living spaces with essential oils.  With their antibacterial, anti-fungal and antiviral properties, they don’t damage my health or the health of my loved ones, they don’t damage the environment and they most often work much better than the mass marketed cleaning products you can find at your grocery store chain. And did I mention the aromatherapeutic benefits? 

The most common essential oils to use is the brilliant Lavender — the most essential of the essential oils — strong, yet gentle, there is little it can’t do. It can sanitize floors, countertops and my fella loves it when I spray lavender floral water on our sheets, making slipping into bed even more divine after a long day.  

Not a fan of lavender? Neither am I. The great thing about essential oils is there are so many scents to choose from. If you prefer herbal scents, try peppermint, tea tree,thyme, eucalyptus, lavender. And if you prefer spicy scents, there’s cinnamon and clove and the citrus scents, like lemongrass and orange are always favourites.

Once you choose your scents, here’s a great basic recipe that can be used for everything from cleaning floors to countertops:

Makes about 20 ounces

  • 15 ounces distilled water
  • 5 ounces white distilled vinegar
  • 1/4 cup lemongrass essential oil
  • 1 tbs clove essential oil
  • 1 tsp peppermint essential oil

No time to make your own cleaning products? Montreal has a growing list of retail stores that offer eco-friendly cleaning materials and some like, Klova on St Denis offer refills, so you can bring in bottles and refill them, limiting the amount of waste, while supporting our local businesses.

This season is a great time to try new things. Inhale deeper than you have ever before this spring with greener air and cleaner habits that won’t only benefit you, but the world around you. Breathe easier. Essentially, the time is now. 

Comment

Easy Soba Noodle Salad from Oh She Glows

Comment

Easy Soba Noodle Salad from Oh She Glows

IMG_0022.JPG

This is one of our favorite family recipes. It's quick and easy to prepare, and the kids love it! Both my boys like raw veggies, pasta and tofu, so it's the perfect recipe. I usually serve it with a spring roll on the side. If I don't have all the veggies on hand, I just swap them out and add cucumbers, edamame beans, etc...

http://www.loveleone.com/easy-soba-noodle-salad-oh-she-glows/

Dressing:

  • 1/4 cup toasted or untoasted sesame oil
  • 3-4 tablespoons rice vinegar to taste (if you like it tangier add 4)
  • 1 tablespoon plus 2 teaspoons tahini
  • 1 tablespoon low sodium tamari
  • 2 cloves garlic, grated
Soba Noodle Salad

For the Salad:

  • 1 (8-ounce) package of soba noodles
  • 1 medium red bell pepper, seeded and diced (about 1 1/4 cups)
  • 3-4 green onions, finely chopped (about 3/4 cups) – If I’m being honest I cut these out – I hate green onions
  • 1 cup loosely packed cilantro leaves, minced
  • 1 batch Cast-Iron Tofu (see below)
  • Fine Sea Salt
  • 1 tablespoon sesame seeds to garnish
  • Fresh lime juice for serving
  • Sriracha, for serving

Cast Iron Tofu:

  • 1 (12-16 oz) block of firm or extra firm tofu
  • 3 teaspoons avocado oil, grapeseed oil or olive oil
  • 1 teaspoon garlic powder
  • 1/4 teaspoon fine sea salt
  • 1/4 teaspoon onion powder (optional)

1) Prepare the Cast Iron Tofu:

  1. Press the Tofu – I used the “Book Stacking Method” with my heavy coffee table books! Rinse the tofu with water, lay two thick dish towels on top of each other on the counter and place a few sheets of paper towel on top. Slice the tofu into 9-10 rectangles and set them on the paper towel in a single layer. Place 2 or more thick dishcloths on top of the tofu slabs and place a cutting board on top of those dishcloths. Set several heavy books on top of the cutting board. Let sit for 20-30 minutes OR over night to allow for the weight of the books to press out the water. I waited about 1 hour and the tofu turned out perfect.
  2. Slice the pressed tofu into squares, roughly giving you 54-60 tofu pieces.
  3. Heat a large skillet (non-stick) over medium heat for several minutes (When a drop of water gently sizzles on the skillet, the skillet is hot enough to add the tofu).
  4. In a large bowl, combine the tofu with 1 1/2 teaspoons of the oil. Stir until the tofu is coated. Stir in the garlic powder, salt and onion powder.
  5. Carefully add the remains 1 1/2 teaspoons oil to the pan (when hot enough) and tilt the skillet to coat it evenly. Add the tofu to the pan in a SINGLE layer to make sure all pieces lay flat.
  6. Cook the tofu on one side for 4-7 minutes until you have a golden crust. Then, with a fork, flip EACH piece and cook the other side for 4-5 minutes until golden. If you want to enjoy the crispy crust of the tofu, serve immediately. It is still delicious when it softens!

2) Make the dressing – in a small bowl, whisk together the dressing ingredients until smooth (I threw it in my bullet to really mix it up) – cover, store in the fridge to thicken

3) Make the Salad – cook the noodles, drain, place in a large bowl

4) Add the bell peppers, green onions (eww), and cilantro to the bowl with the noodles. Add the dressing and toss to coat. Add half the tofu cubes and toss again, taste and season if necessary.

5) Top the salad with remaining tofu, sesame seeds and cilantro scattered on top. Squeeze a bit of lime juice. Salad can be stored in fridge for up to 3 days, is delicious hot or cold – but if you want to enjoy your tofu crispy then gobble it down while it’s hot! 

- Jennifer Maagendans

Comment

Zucchini Bread Muffin Tops from the Oh She Glows App

Comment

Zucchini Bread Muffin Tops from the Oh She Glows App

Zucchini Bread Muffin Tops from the Oh She Glows app

Oh She Glows app image

When I found out that the Oh She Glows app was on sale for just $0.99 I decided to try it out! It's super fun and easy to use! It has a long scrolling list of recipes you can browse, a search function so you can find a specific recipe, separate sections for Description (Headnote), Ingredients, Directions and Tips for each recipe and even a section where you can add your own personal notes. You can also mark your favourite recipes and find them more quickly, click off the ingredients and the steps as you go so you don't forget where you are along the list and the app stays open (your phone doesn't shut off automatically) so that you don't have to constantly unlock your phone (probably with sticky  hands!).

When I came across this Zucchini Bread Muffin Top recipe, I thought it looked pretty simple and didn't require a super long list of ingredients, plus it's gluten-free, nut-free, soy-free, refined sugar-free and (of course) vegan! Sounded like an all-around win to me! And I got a lot of positive comments from the students when I offered them up after class as part of our Spring Challenge. :-)

MAKES: 14-16 muffin tops
PREP TIME: 15 minutes
COOK TIME: 20 minutes


Ingredients:

Zucchini Bread Muffin Tops ingredients
  • 1 1/2 cups (170 g) lightly packed grated zucchini
  • 1 cup (225 g) packed pitted Medjool dates
  • 3/4 cup (180 mL) unsweetened applesauce
  • 1/4 cup (60 mL) virgin coconut oil, melted
  • 1 teaspoon cinnamon
  • 1 teaspoon baking powder
  • 1 teaspoon (5 mL) pure vanilla extract
  • 1/4 teaspoon plus 1/8 teaspoon fine sea salt, or to taste
  • 2 cups (200 g) gluten-free rolled oats, divided
  • 1/2 cup (50 g) dark chocolate or walnuts, chopped (optional)

Directions:

  1. Preheat oven to 350 degrees F (180 degrees C) and line a large baking sheet with parchment paper.
  2. Grate the zucchini. With paper towel or an absorbent tea towel, gently press out some of the water in the zucchini (just a bit... it doesn't have to be bone dry). Set aside.
  3. Add the pitted dates, applesauce, melted oil, cinnamon, baking powder, vanilla, and salt into a heavy-duty food processor. Process until smooth, stopping to scrape down the bowl as needed. Let the processor run for at least a minute to ensure the mixture gets as smooth as possible.
  4. Add 1 1/2 cups of rolled oats and process for only 4 to 5 seconds, just long enough to roughly chop the oats.
  5. Remove the processor bowl from the base, remove the blade, and spoon the dough into a large bowl. Stir in the remaining 1/2 cup rolled oats, all the zucchini, and the chocolate or walnuts (if using) until thoroughly combined.
  6. Spoon a mound of dough, about 2 to 3 tablespoons worth, onto the baking sheet. (My favourite trick is to use an ice cream scoop, to ensure that each comes out about the same size) Do not press down on the dough to flatten -- simply leave it in a small mound. Repeat until all the dough is used up.
  7. Bake the muffin tops for around 18 to 22 minutes, until semi-firm to the touch and golden brown on the bottom.
  8. Transfer the baking sheet onto a cooling rack for 10 minutes.
  9. Using a spatula, carefully slide each muffin top directly onto a plate and chill in the fridge until completely cool. (The muffin tops will be delicate and doughy in the middle until they are cooled and chilled in the fridge. I find they taste best chilled, too!) Leftovers will keep in an airtight container in the fridge for 4 to 5 days, or you can freeze them (tightly wrapped and sealed in an airtight container) for 2 to 4 weeks.

- Frances Vicente

Comment

Happiness is skin deep

Comment

Happiness is skin deep

I have come to accept my skin. It’s thin, easily offended and without fail, reminds me when I haven’t been getting enough sleep. Since my skin and I are stuck with each other, I have come to understand it, and know what makes it happy. When my skin is happy, I find myself in a good place.

So let’s talk about happy skin. The harsh truth is that we live in an environment that often works hard to make our skin downright unhappy.  Pollution, sun damage, and stress all wreak havoc on the well-being of our skin.  A good diet is essential, but great skincare is key. I have found that a clean beauty attitude is as integral to the health of our skin as a clean diet can be.

The first time I was introduced to the power of plant oils, I was awestruck with the experience. I was hopeful, but never expected my skin to respond so immediately. But like a garden after a good rainfall, my skin blossomed and I have not looked back.

Plant oils can be complex, and have unique characteristics to them, such as comedogenic properties — meaning how likely they are to clog our pores. They can also be categorized as either ‘dry’ or ‘wet’ oils, referring to how quickly they absorb into the skin. Face oils and serums, such as the ones we create at Audre Leigh, are designed based on the unique active qualities each oil brings to the skin. Our basic kitchen staples, like coconut and olive oil, which are skin-friendly and great for many skincare uses, are not always tolerated by many skin types, so before you slather on that organic olive oil you have in your cupboard, let’s talk a little about skin-friendly oils! 

Plant oils come from a long list of fruit, flower, vegetable and grain seeds — cold-pressed is best, as is organic. Precious flower seed oils, such as Rosehip and Camellia (green tea) have a low chance of clogging pores, and are considered great skin regenerators — suitable for acne sufferers and well-tolerated by most.  Argan, Borage and Jojoba are seen as the ‘holy grail’ of oils with their abilities to repair, moisturize and tone our skin.

Plant oils are chock full of vitamins and fatty acids, with omega 3, 6 and 9 being of particular interest, as they help heal and build strength in our skin cells. We often hear of antioxidant-rich foods, and the same can be applied to skincare. Think of face oils as a protective barrier to the pollution in our environment — from car exhaust, smoke, stress and sun damage, which all compromise the overall health of our skin. Keeping our skin happy isn’t always easy, and we are seeing a societal shift in focus on self-care as a result, with a renewed interest in ancient beauty rituals making a comeback. Ayurvedic beauty practices are also coming back into vogue, with the resurgence of such practices as Mukepaleham, where precious oils are deeply massaged into the skin allowing for the time needed to connect and build a relationship with our beauty regimen. On the flip side, commercial lotions filled with silicones, fragrances and preservatives — that have no skin benefits — are being called into question for weakening and deteriorating our facial skin cells over time. By contrast, clean and green beauty products are potent, plant-based, and cruelty-free, offering an alternative to traditional commercial based beauty products. 

Ditching the age-old visions of beauty as ‘anti-aging’ while distancing ourselves from the days of botox and beauty-at-any-cost, we are seeing a cultural shift that embraces a balanced and age-positive outlook of what beauty is, and can be. Healthy skin has never been more relevant. And when we are healthy, happiness usually isn’t far behind.

When I was designing Audre Leigh’s Beauty Seed Oil, I wanted to develop a serum that would incorporate all the natural, plant-based qualities powerful enough to make my skin sing. To this day, my skin still feels like a wonderful, ongoing operetta.  I believe in the power of plants, and the potency they offer. The ritual of massaging, touching and connecting with my skin and seeing the difference it makes is, for me, an act of self-care with unmistakable results and the first step towards actualizing my own happiness —  a happiness I love seeing in my face.

- Shannon Cleary

Comment